Billing and Invoicing Supplementary Manual
Billing Process :
- Log in to Hubstaff.


- Search for the Client / Project.
- Make sure Issue Date and Due Date are the same.

- Click Generate Line Items.

- After generating, a page will pop up. Fill out the pop-up page.
- Date Range – put last week’s Friday and current week’s Thursday.
- Click Apply.

- Projects – Search for the client / project
- T0-Do – All-to-dos
- Line Items : By user, to-do, date
- Once filled out, click Generate.

- You will be routed back to New Invoice.
- You will see an empty field in the Description, just click Trash.

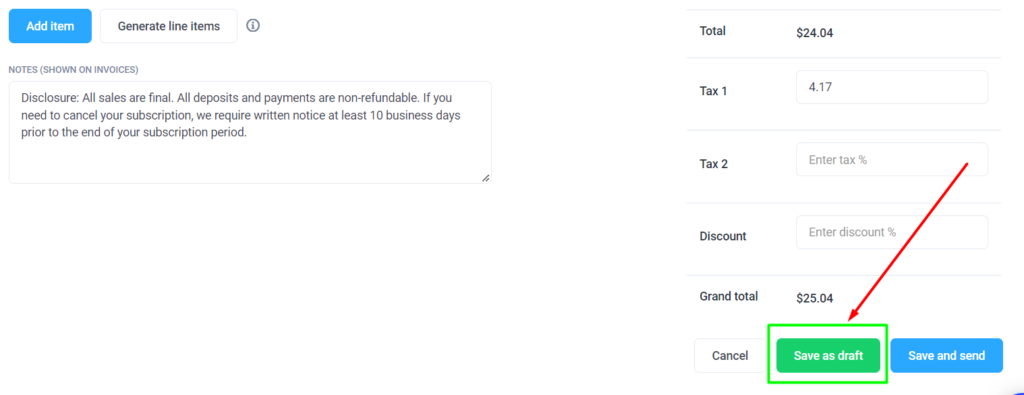
- Scroll down, click Save as draft
- Go to Stripes.
- Click Customers.
- Look for the Client/Project then go to his account by clicking the Client’s Name.

- Go to Payments.
- Click Create.

- The “Create a new payment” page will pop-up.
- Go back to Hubstaff and copy the Amount Due then paste it in Stripe.
- Click Create payment.

- Refresh Stripe and check if the payment Succeeded.

- Go back to Hubstaff. Click Record Payment.
- A small page will pop-up, just write “Stripe” as Notes.

- Click Save. There should be the word “PAID” in the receipt.
- Click More Actions.
- Click Download PDF

- Save the PDF and make sure to remember the filename since you will upload this later in the Client’s Portal.

- Go to WordPress. Click Client Portals.

- Search for the Client then click Edit.

- After opening the account, scroll down and look for Invoice.
- Click Add Row. Fill out the Date. Upload the PDF File for the Paid Invoice.
- Make sure the that under the Invoice Paid, you click Yes.

- Click Update.
- Right click the Permalink. This will route you to the Client’s Portal.

- In the Client’s Portal, go to Account. Click Payment History.

- Go to Click to View Invoice.

- Make sure the invoice is accurate by checking on the Client’s Name, the Issue Date and the Due Date

- Go to Client’s GHL.
- Go to Active Clients and search for the client/project.
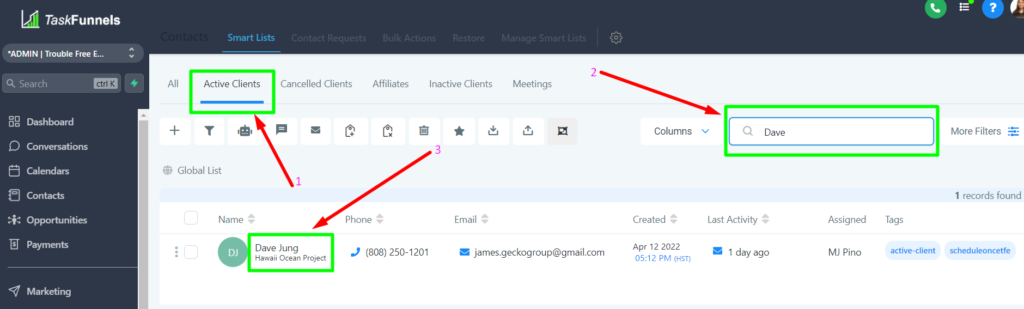
- Go to Additional Info.
- Last Billed On – the Issue Date
- Last Billed Amount – Paid Amount
- Unpaid Invoices – these are payments that did not go through due to insufficient funds
- Paid Invoices – record of all payments made


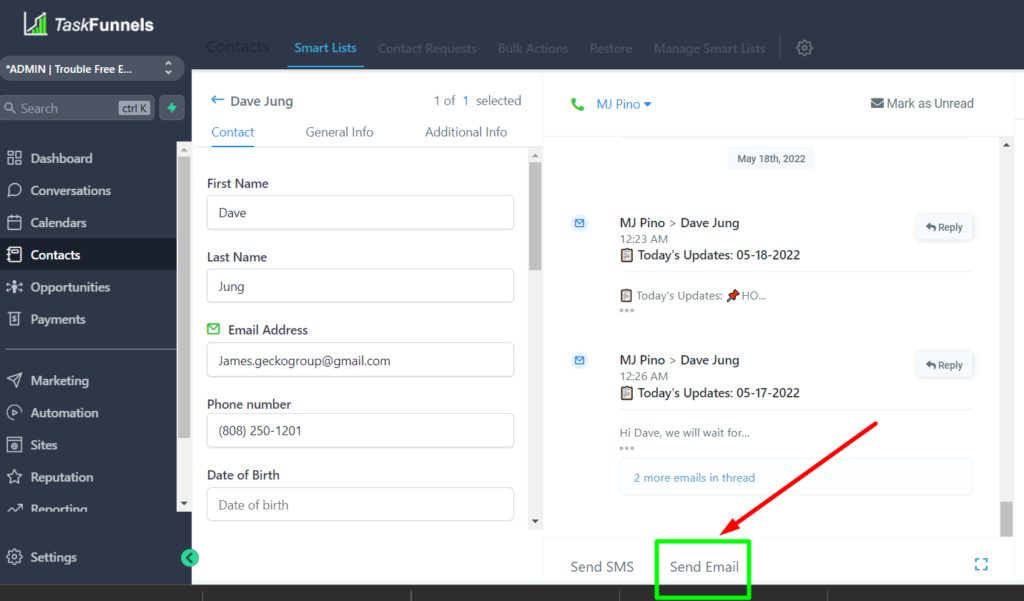
- Click the Templates Icon.

- Choose Billing Invoice Charged Success.


- Go to your Agent Portal.
- Finish the task by adding notes.
- For the Notes, just copy the last email you sent to your client and paste it.
- Then Circle Back to next Billing Day.